Here is an interesting exercise in grayscale image processing,
The goal is to remove some (nearly) horizontal lines from
a scanned image, so that it is not obvious that the lines
were ever there. The image is a pencil drawing that has
relatively light pencil marks over dark lines that were
printed on a ruled pad. The subject is Dave Carman, a
venerable Exum Mountain Guide in Grand Teton National Park.
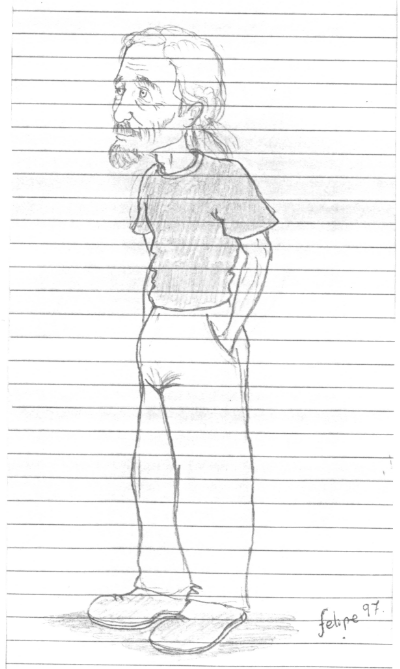
Fig 1. Original image (pixs) |
This is the original, scanned in grayscale and scaled down to about 2/3 size for easy viewing here. I first summarize the approach, and then show you the details. Here are the main steps:
The total time to run all the processing on a 1 megapixel image
is about 1 second on a fast P4! The details follow.
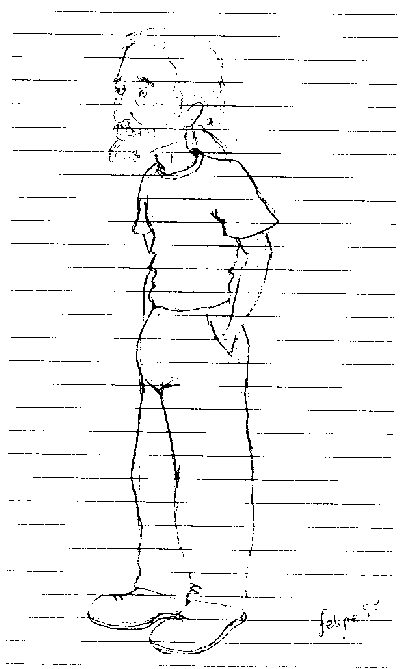 Fig 2. pix1 = pixThresholdToBinary(pixs, 150); |
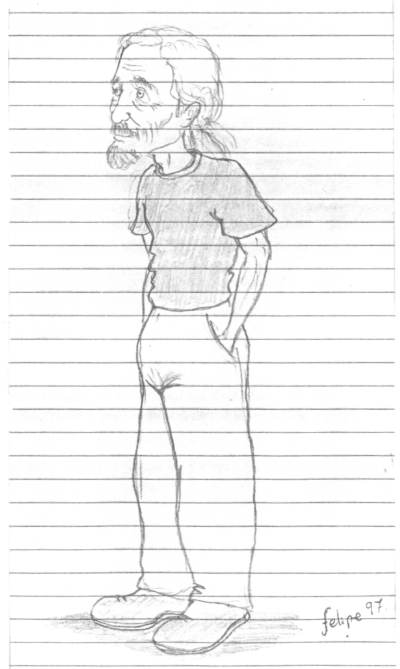 Fig 3.
|
The first step is to deskew the image, so that the lines are
horizontal. We will then be able to apply large filters to
extract the lines. First threshold to binary, extracting
enough of the lines to make a good measurement, as shown in Fig. 2.
Then compute the skew angle, which turns out to be 0.66 degrees
clockwise, and deskew using an interpolated rotator for
anti-aliasing (to avoid jaggies). The result is in Fig. 3.
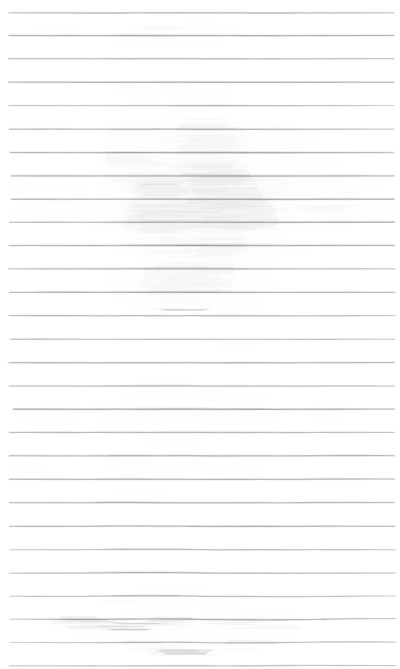 Fig 4. pix3 = pixCloseGray(pix2, 51, HORIZ); |
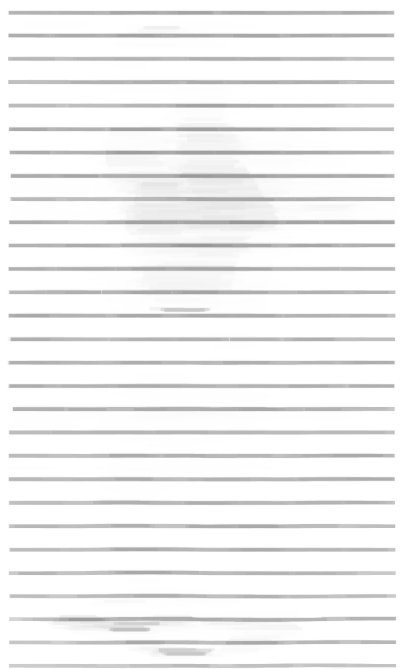 Fig 5. pix4 = pixErodeGray(pix3, 5, VERT); |
Now, extract the lines to be removed, trying not to get too much else in the process. Unfortunately, we get a lot of light background stuff that we're going to eventually want to save. This is done with a grayscale morphological closing with a large horizontal structuring element, as shown in Fig. 4.
Not only did we get some background that we didn't
want, we also got lines that are narrower than the actual
lines. We need to solidify them in the vertical direction,
and do this with a small grayscale vertical erosion.
The result is in Fig. 5.
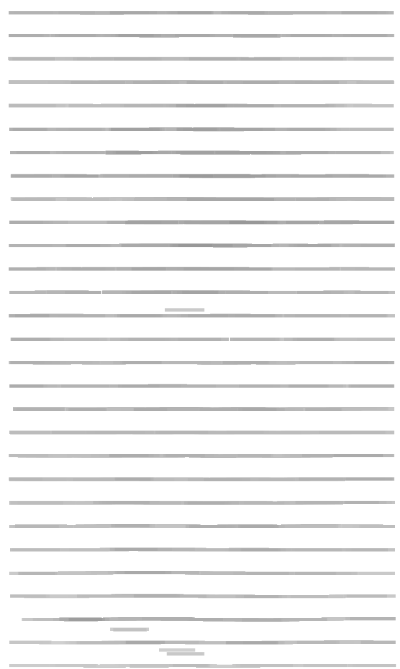 Fig 6. pix5 = pixThresholdToValue(pix4, 210, 255); |
 Fig 7. pix6 = pixThresholdToValue(pix5, 200, 0); |
This solidifies the lines, but it also darkens the other background that we want to save! Now, we want to remove the lines, which we will do by adding the inverse. But first we need to get as much of the background set to white as possible; otherwise, the addition will lighten the gray regions. To do the cleaning, choose a threshold and for any pixel lighter than the threshold, set it to white (255). We have to set the threshold very high (210) because the lines themselves are very light. The result is in Fig. 6, where you can see that the light gray has been removed. Notice that there is still some stuff we want to keep that we may eventually lose.
It turns out that the smearing of the lines has made them
lighter in the center than the original lines. If we add
the inverse as it is, we'll get black residuals in the center.
We must darken the lines, and we do it with the same grayscale
thresholding function, but this time setting the pixels
to black (and still using a high threshold because the
lines are quite light). The result is in Fig. 7.
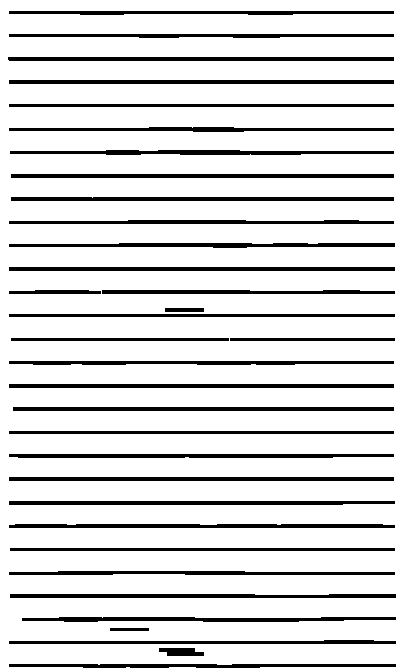 Fig 8. pix7 = pixThresholdToBinary(pix6, 210); |
 Fig 9.
|
Carrying on, the basic idea is to remove the lines, then close up the holes. But when we close up the holes, with a vertical opening, we also smear the image. So we will want to select only those pixels in the gap from the opened image. Thus, we need a paint-through selection mask, which is simply a binarized version of the image of lines that we just made. The threshold we use here is the same as the one used in the previous step (210), but here we are making a binary image where all pixels in the lines that are below 210 become black; the rest are white. The mask is in Fig. 8, and we'll put it aside and use it later.
We can now invert the grayscale lines and add the result
to the original (rotated) image. Shown in Fig. 9,
the lines mostly vanish,
but we lose some stuff that we really want where the lines
were. Because we previously whitened the other parts, we
don't damage the light gray areas that are not on the lines.
(Addition is clipped to 255 (white), so that any sum larger
than 255 is white.)
 Fig 10. pix9 = pixOpenGray(pix8, 9, VERT); |
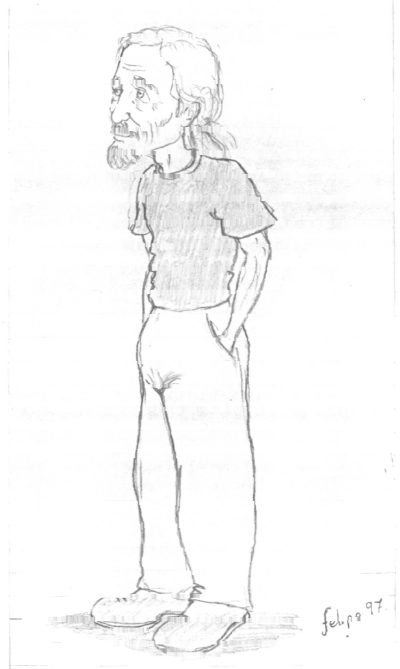 Fig 11. pixCombineMasked(pix8, pix9, pix7); |
Of course, we don't know what the missing pixel values would have been in the absence of the lines, so we make a "guess" that they're similar to the values above and below the white stripes. We implement this by a grayscale opening in the vertical direction, as shown in Fig. 10. This smears the image (pix9), making it look quite fuzzy. But not to worry. We're only going to use the parts of this image that are under the line mask (pix7); for the rest, we use the previous image (pix8). The result is composed of two grayscale images, with a binary selector mask choosing which pixels come from which, and is shown in Fig. 11.
We'll stop here. It isn't perfect yet, but
it shows what can be done with a little experimentation.
